Hyundai Santa Fe (TM): Panorama Sunroof / Panorama Sunroof Assembly. Repair procedures
Hyundai Santa Fe (TM) 2019-2023 Service and Repair Manual / Body (Interior and Exterior) / Panorama Sunroof / Panorama Sunroof Assembly. Repair procedures
| Removal |
|

| 1. |
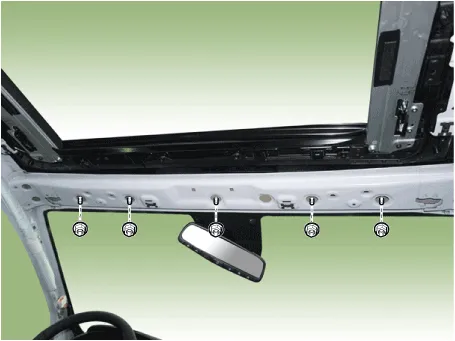
Remove the roof side molding.
|
| 2. |
Remove the roof trim.
|
| 3. |
Remove the front glass.
|
| 4. |
Completely close the movable glass using the panorama sunroof switch.
|
| 5. |
Remove the window glass.
|
| 6. |
Remove the rear glass.
|
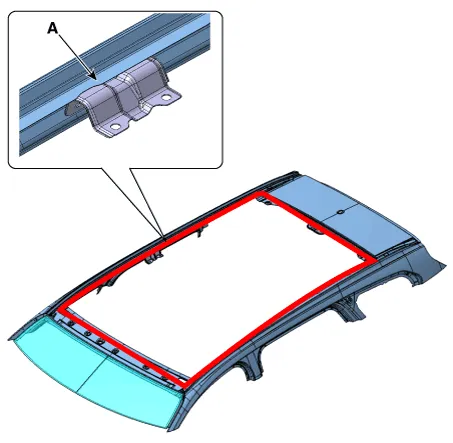
| 7. |
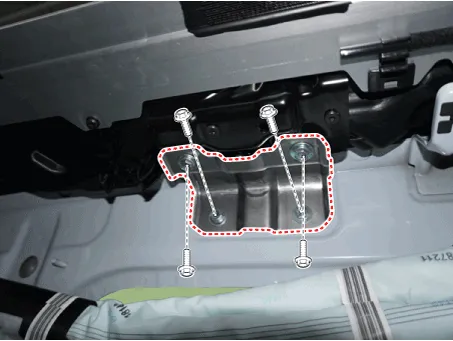
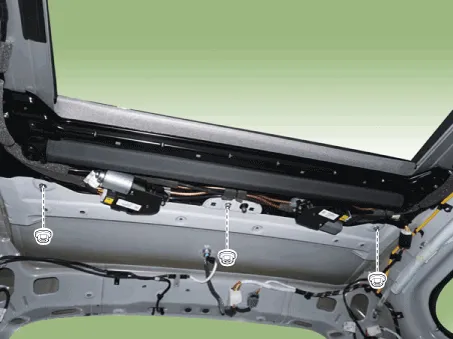
Remove the panorama sunroof side bracket.
|
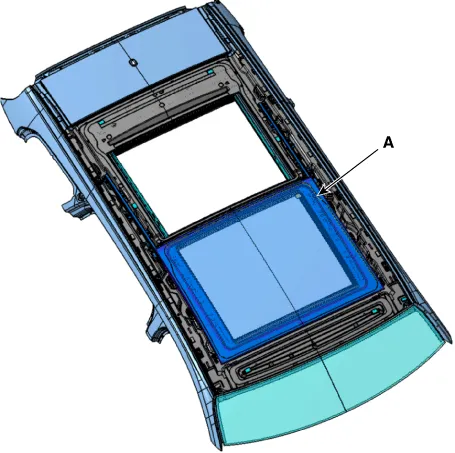
| 8. |
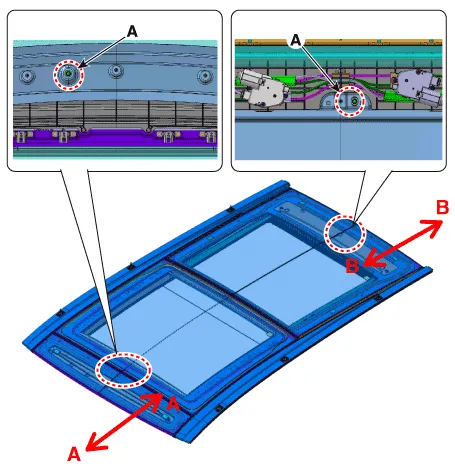
Loosen the panorama sunroof mounting nuts (A).
[Front]
[Rear]
|
| 9. |
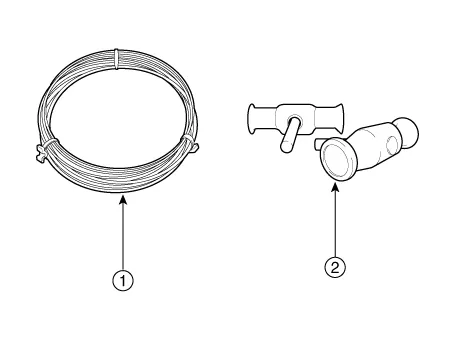
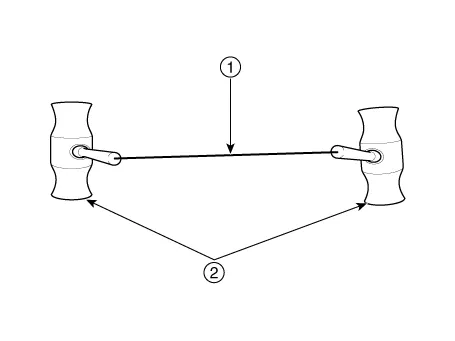
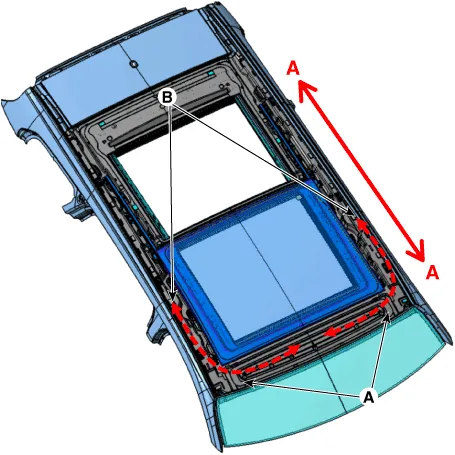
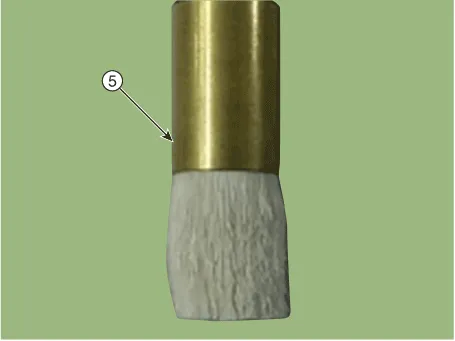
Cut sealant in edge side front (A) pulling wire (B) from left to right.
|


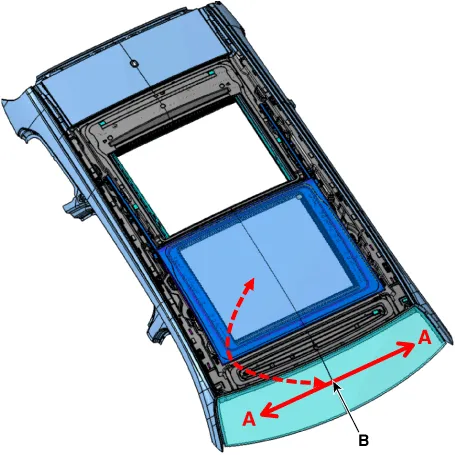
| 10. |
Cut sealant between edge side front (A-A) pulling wire (B) from left
to right.
|
| 11. |
Cut sealant between edge side (A-A) pulling wire (B) from left to right.
|
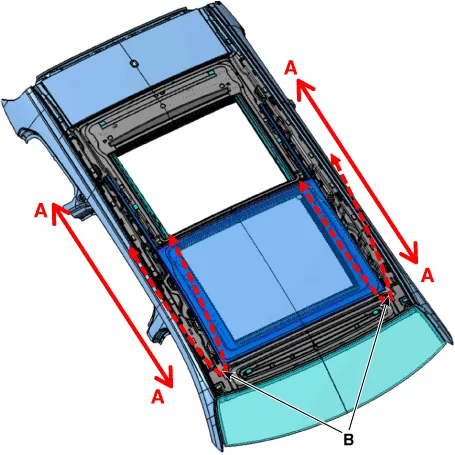
| 12. |
Cut sealant between edge side rear (A-A) pulling wire (B) from left
to right.
|

| 13. |
After every edge side sealant is cut, remove panorama sunroof assembly
(A).
|
| 14. |
Use a blade to cut off residual sealant (A) around body panel.
|
| Installation |
|
| 1. |
Use alcohol or an air gun to clean up the edges of the body panel and
panorama sunroof frame.
|
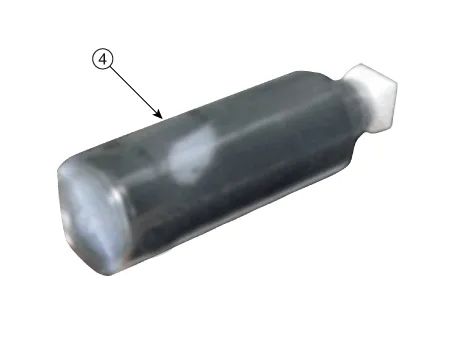
| 2. |
Use a primer application brush to apply primer around the body panel
and panorama sunroof frame.
|
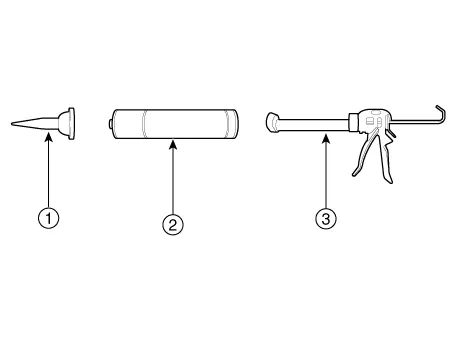
| 3. |
Use a sealant gun to apply sealant around the body panel (A) after applying
the primer.
|
| 4. |
Carefully install panorama sunroof on body flange set by centering device
hole (A).
|
| 5. |
Check steps and gaps for every side.
|
| 6. |
Tighten the panorama sunroof fixing nuts.
[Front]
[Rear]
|
| 7. |
Install the panorama sunroof side bracket.
|
| 8. |
Perform water leak test.
|
| 9. |
If water leak occurs, apply sealant on leakage spot.
|
| 10. |
Install the roof trim.
|
| 11. |
Install the rear roof molding and roof rack.
|
Component 1. Panorama Sunroof Assembly
Other information:
Hyundai Santa Fe (TM) 2019-2023 Service and Repair Manual: Temperature Control Actuator. Description and operation
Description The heater unit includes mode control actuator and temperature control actuator. The temperature control actuator is located at the heater unit. It regulates the temperature by the procedure as follows. Signal from control unit adjusts the position of the temperature door by operating the temperature switch
Hyundai Santa Fe (TM) 2019-2023 Service and Repair Manual: Description and operation
Description • PDW consists of 8 sensors (front : 4 units, rear : 4 units) that are used to detect obstacles and transmit the result in three separate warning levels, the first, second and third to IBU via LIN communication.
Categories
- Manuals Home
- Hyundai Santa Fe Owners Manual
- Hyundai Santa Fe Service Manual
- Seats & Safety System
- Engine Mechanical System
- Front Radar Unit. Repair procedures
- New on site
- Most important about car

Copyright © 2025 www.hsafe4.com - 0.012