
Hyundai Santa Fe (TM): Cylinder Block / Rear Oil Seal. Repair procedures
| Removal |
|

| 1. |
Remove the automatic transaxle.
(Refer to Automatic Transaxle System - "Automatic Transaxle")
|
| 2. |
Remove the drive plate.
(Refer to Cylinder Block - "Drive Plate")
|
| 3. |
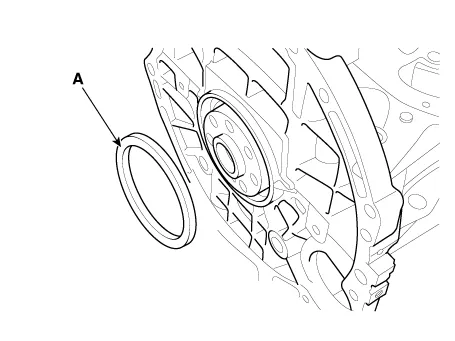
Rmove the rear oil sela (A).
|
| Installation |
| 1. |
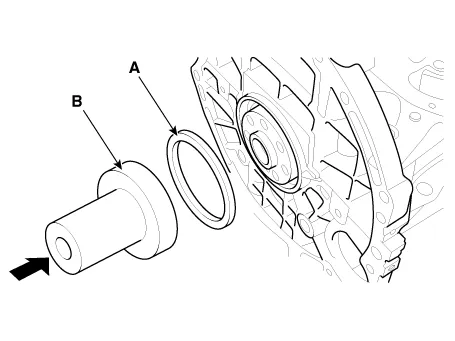
Install rear oil seal.
|
| 2. |
Install the drive plate.
(Refer to Cylinder Block - "Drive Plate")
|
| 3. |
Install the automatic transaxle.
(Refer to Automatic Transaxle System - "Automatic Transaxle")
|
Removal and Installation • Be careful not to damage the parts located under the vehicle (floor under cover, fuel filter, fuel tank and canister) when raising the vehicle using the lift.
Components 1. Piston ring 2. Snap ring 3. Piston 4. Connecting rod 5. Connecting rod upper bearing 6.
Other information:
Hyundai Santa Fe (TM) 2019-2023 Service and Repair Manual: Smart Key. Repair procedures
Smart Key Smart Key Code Saving 1. Connect the DLC cable of diagnostic tool to the data link connector (16 pins) in driver side crash pad lower panel, turn the power on diagnostic tool. 2.
Hyundai Santa Fe (TM) 2019-2023 Service and Repair Manual: Smart Key Unit. Repair procedures
Removal Integrated Body Control Unit (IBU) 1. Disconnect the negative (-) battery terminal. 2. Remove the glove box. (Refer ti Body - "Glove Box") 3.
Categories
- Manuals Home
- Hyundai Santa Fe Owners Manual
- Hyundai Santa Fe Service Manual
- Fuel Delivery System
- Emission Control System
- 4 Wheel Drive (4WD) System
- New on site
- Most important about car
