Hyundai Santa Fe (TM): Lubrication System / Oil Pump. Repair procedures
| Removal |
|

| 1. |
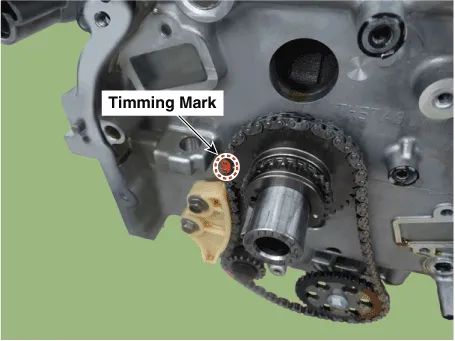
Remove the timing chain.
(Refer to Timing System - "Timing Chain")
|
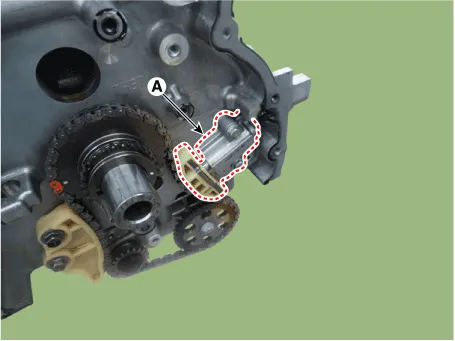
| 2. |
Remove the oil pump chain tensioner (A).
|
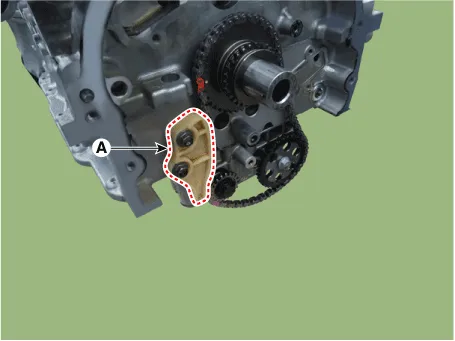
| 3. |
Remove the oil pump chain guide (A).
|
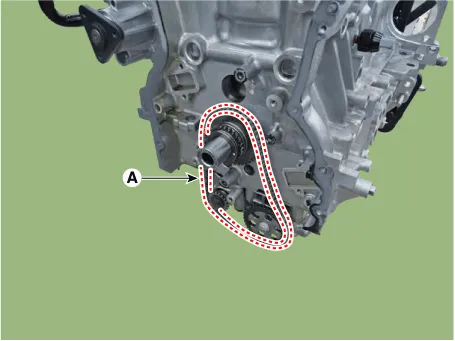
| 4. |
Remove the oil pump chain (A).
|
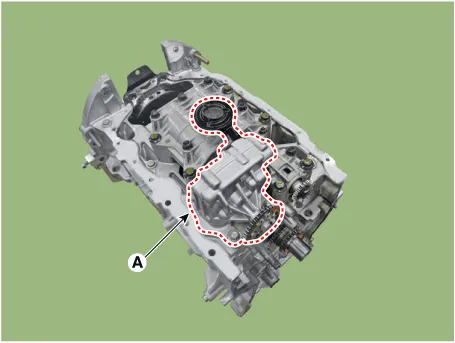
| 5. |
Remove the oil pump (A).
|
| Installation |
| 1. |
Install the oil pump (A).
|

| 2. |
Install the oil pump chain guide (A).
|
| 3. |
Install the oil pump chain (A).
|
| 4. |
Install the oil pump chain tensioner (A).
|
| 5. |
Install the timing chain.
(Refer to Timing System - "Timing Chain")
|
Removal • Be careful not to damage the parts located under the vehicle (floor under cover, fuel filter, fuel tank and canister) when raising the vehicle using the lift.
Removal • Be careful not to damage the parts located under the vehicle (floor under cover, fuel filter, fuel tank and canister) when raising the vehicle using the lift.
Other information:
Hyundai Santa Fe (TM) 2019-2023 Service and Repair Manual: Temperature Control Actuator. Repair procedures
Inspection 1. Turn the ignition switch OFF. 2. Disconnect the temperature control actuator connector. 3. Verify that the temperature control actuator operates to the cool position when connecting 12V to terminal 3 and grounding terminal 7.
Hyundai Santa Fe (TM) 2019-2023 Service and Repair Manual: Climate Control Air Filter. Repair procedures
Replacement 1. Remove the glove box. (Refer to Body - "Glove Box") 2. Remove the filter cover (A) by pressing the knob. 3. Replace the air filter (A) with a new one according to the direction of air filter.
Categories
- Manuals Home
- Hyundai Santa Fe Owners Manual
- Hyundai Santa Fe Service Manual
- Emergency Call (eCall) Unit. Repair procedures
- 4 Wheel Drive (4WD) System
- Driver assistance system
- New on site
- Most important about car
