Hyundai Santa Fe (TM): Body Side Molding / Roof Rack. Repair procedures
| Removal |
|

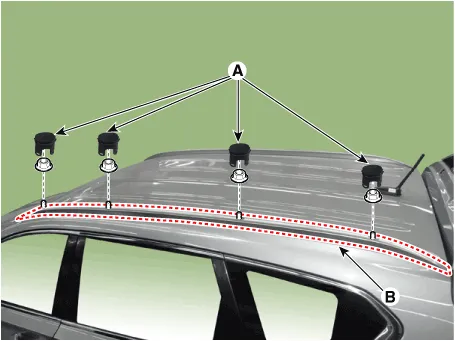
| 1. |
Remove the roof rack side cap (A).
|
| 2. |
Loosen the nuts and remove the roof rack assembly (B).
|
| Installation |
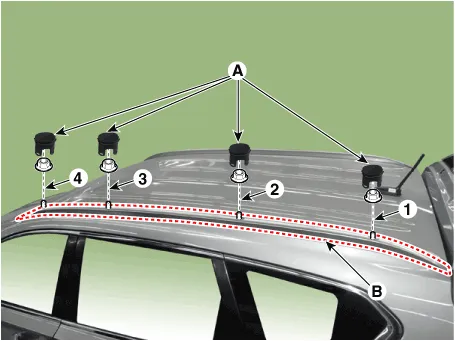
| 1. |
Install the roof rack assembly (B).
|

| 2. |
Install the roof rack side cap (A).
|
Components Location 1. Roof rack assembly
Replacement • When removing with a flat-tip screwdriver or remover, wrap protective tape around the tools to prevent damage to components.
Other information:
Hyundai Santa Fe (TM) 2019-2023 Service and Repair Manual: Power Mosfet (DATC). Repair procedures
Inspection 1. Turn the ignition switch ON. 2. Manually operate the control switch and measure the voltage of the blower motor. 3. Select the control switch to raise the voltage until high speed.
Hyundai Santa Fe (TM) 2019-2023 Service and Repair Manual: Warning Indicator. Repair procedures
Inspection 1. Disconnect the negative (-) battery terminal. 2. Remove the front door trim. (Refer to Body - "Front door trim") 3. Disconnect the power door mirror connector from the harness BCW indicator
Categories
- Manuals Home
- Hyundai Santa Fe Owners Manual
- Hyundai Santa Fe Service Manual
- Engine Control/Fuel System
- Driving your vehicle
- Four Wheel Drive (4WD) operation
- New on site
- Most important about car
