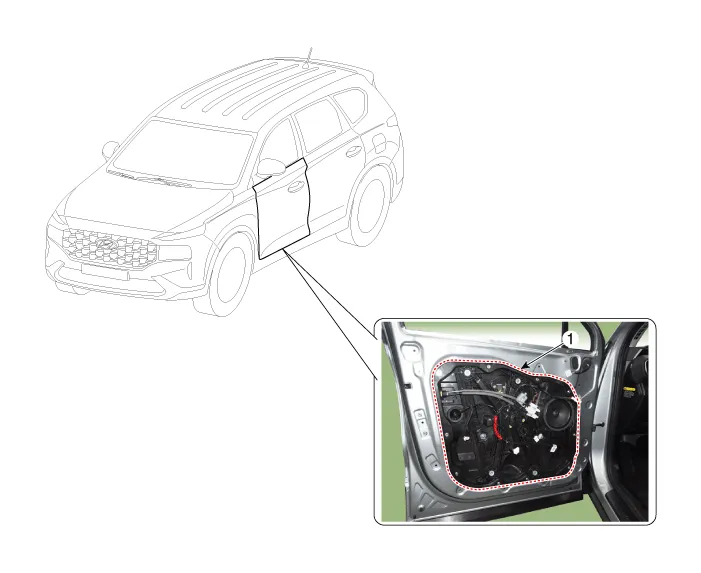
Hyundai Santa Fe (TM): Body (Interior and Exterior) / Front Door
Components and components location
| Components |
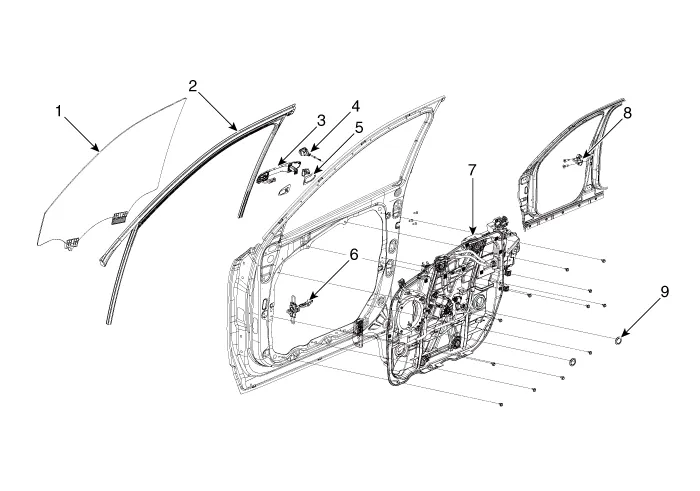
| 1. Front door
window glass 2. Front door window glass run assembly 3. Front door outside handle 4. Front door lock assembly 5. Front door outside handle pad |
6. Front door
checker assembly 7. Front door module assembly 8. Front door striker 9. Front door module plug hole |
Repair procedures
| Adjustment |
|

| 1. |
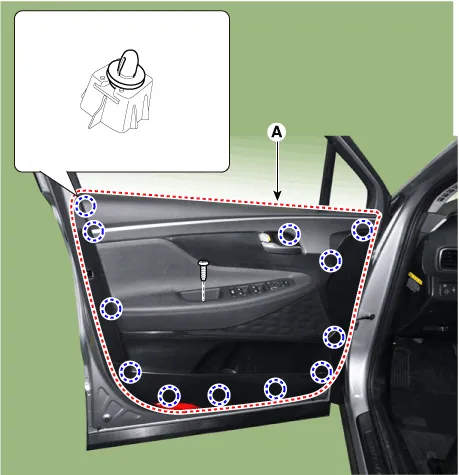
Remove the front door trim.
(Refer to Front Door - "Front Door Trim")
|
| 2. |
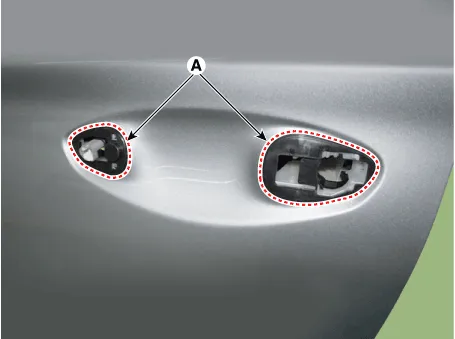
Remove the plug hole (A).
|
| 3. |
After loosening the glass mounting bolts, adjust the spacing of the
glass (A) by moving the glass from side to side and then tighten the
bolts.
|
| 4. |
Check the glass for normal operation.
|
|
| 1. |
After loosening the mounting screw, adjust the striker (A) by moving
it forward and backward or from side to side and then tighten the bolts
(B).
|
| 2. |
Check that door opening and closing works properly.
|
|
| 1. |
Check that the door and body edges are parallel.
|
| 2. |
Place the vehicle on a level surface before adjusting the doors.
|
| 3. |
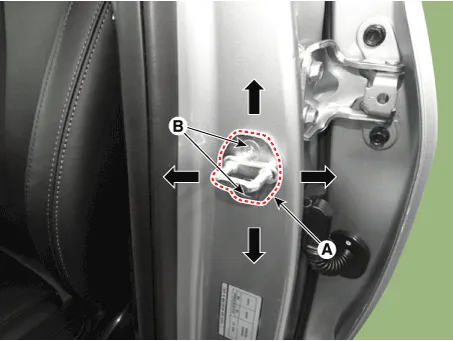
Adjust the hinges (A) :
|
| 4. |
Grease the pivot portions of the hinges indicated.
|
| 5. |
Check for water leaks.
|
Front Door Trim. Components and components location
| Component Location |
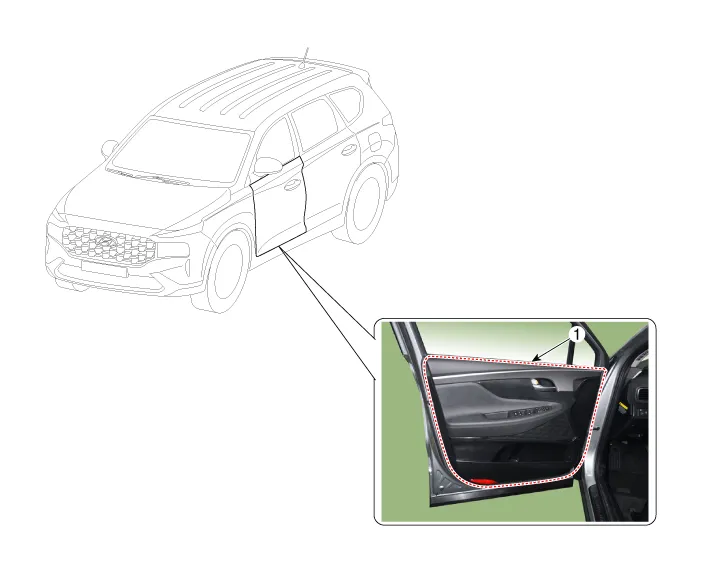
| 1. Front Door
Trim |
Front Door Trim. Repair procedures
| Replacement |
|

|

| 1. |
Using a flat-tip or remover, remove the front door pull handle mounting
cap (A).
|
| 2. |
After loosening the mounting screws, remove the lower part of the front
door trim (A) using a flat-tip screwdriver.
|
| 3. |
Remove the front door inside handle cage (A).
|
| 4. |
Disconnect the front door window connector (A) , mirror switch connector
(B).
|
| 5. |
To install, reverse removal procedure.
|
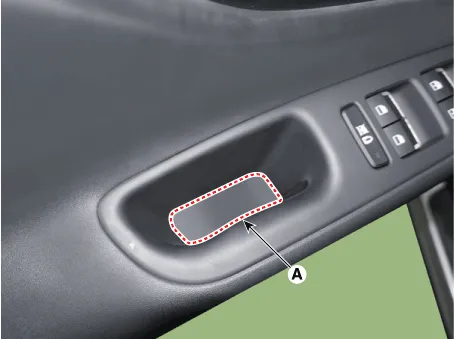
Front Door Inside Handle. Repair procedures
| Replacement |
| 1. |
Remove the front door trim.
(Refer to Front Door - "Front Door Trim")
|
| 2. |
After loosening the mounting screws, remove the front door inside handle
(A).
|
| 3. |
To install, reverse removal procedure.
|
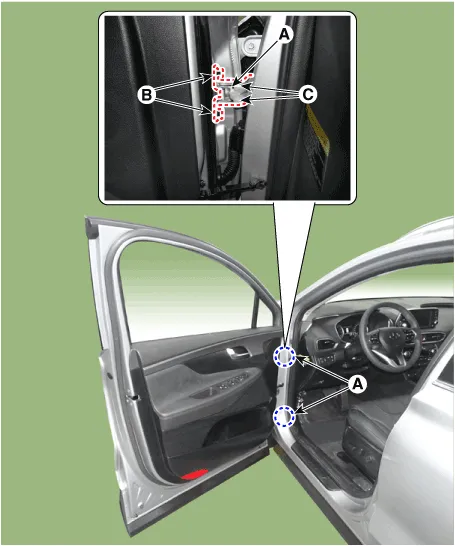
Front Door Window Glass. Components and components location
| Component Location |
| 1. Front Door
Window Glass |
Front Door Window Glass. Repair procedures
| Replacement |
| 1. |
Remove the front door trim.
(Refer to Front Door - "Front Door Trim")
|
| 2. |
Using a screwdriver or remover, remove front door belt outside weatherstrip
(A).
|
| 3. |
Remove the front door belt inside weatherstrip (A).
|
| 4. |
Loosen the mounting bolts and separate the front door glass weatherstrip
(A).
|
| 5. |
Remove the pulg hole (A).
|
| 6. |
By operating the power window switch, pull down until the glass mounting
bolt on plug hole is visible.
|
| 7. |
Loosen the mounting bolt and then pull out the front door window glass
(A) by tilting it sideways.
|
| 8. |
To install, reverse removal procedure.
|
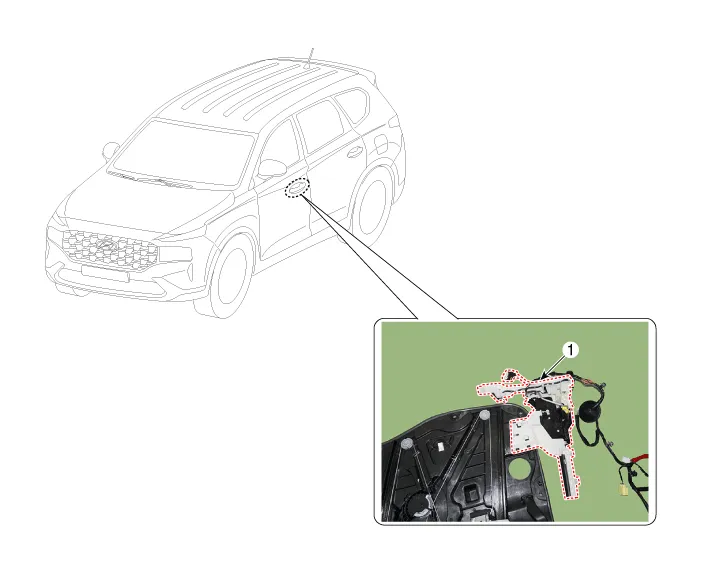
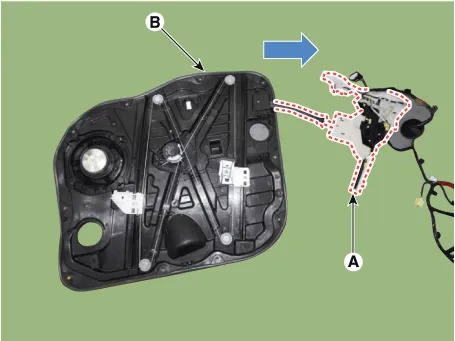
Front Door Module. Components and components location
| Component Location |
| 1. Front Door
Module |
Front Door Module. Repair procedures
| Replacement |
| 1. |
Remove the front door window glass.
(Refer to Front Door - "Front Door Window Glass")
|
| 2. |
Remove the front door outside handle.
(Refer to Front Door - "Front Door Outside Handle")
|
| 3. |
Remove the front door speaker.
(Refer to Body electrical system - "Speaker")
|
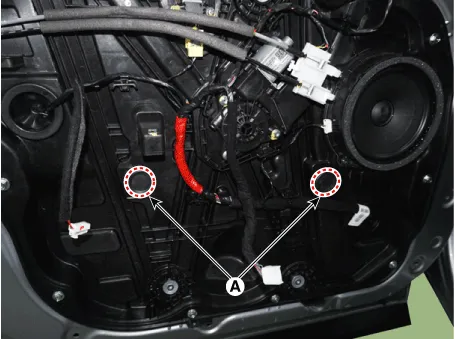
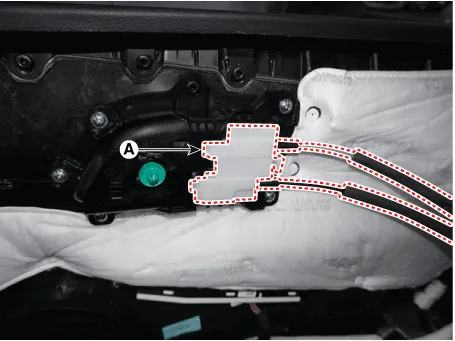
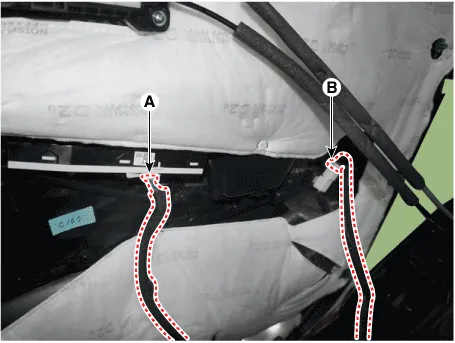
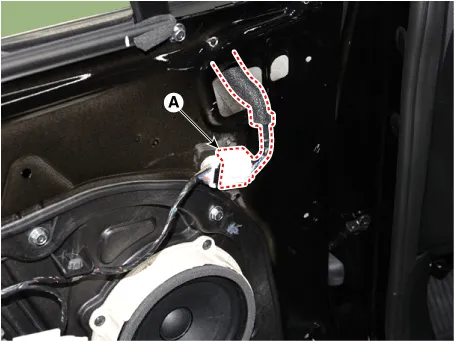
| 4. |
Loosen the lock pin and separate the front door main connector (A).
|
| 5. |
Loosen the front door outside handle screw (A).
|
| 6. |
Using a screwdriver or remover, remove the outside rear view mirror
inner cover (A).
|
| 7. |
Press the lock pin, separate the outside rear view mirror connector
(A).
|
| 8. |
Loosen the front door latch screws (A).
|
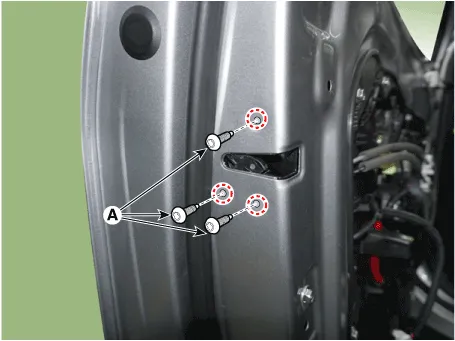
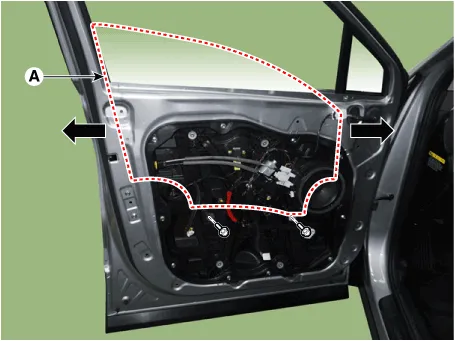
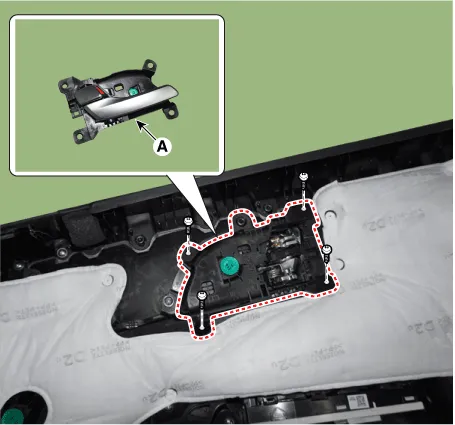
| 9. |
Loosen the front door moodule bolts and remove the front door module
(A).
|

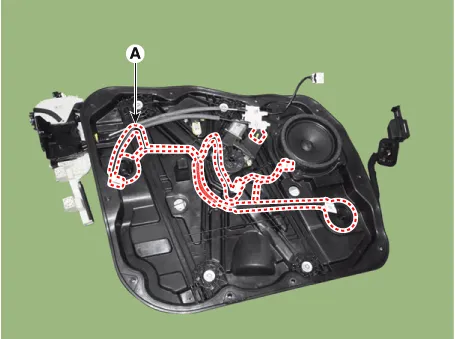
| 10. |
Disconnect the various connector fron the front door module and separate
the front door module wiring harness (A).
|
| 11. |
Remove the front door latch assembly.
(Refer to Front Door - "Front Door Latch Assembly")
|
| 12. |
Remove the front power window motor.
(Refer to Body Electrical System - "Power Window Motor")
|
| 13. |
Remove the impact sensor.
(Refer To Airbag System - "Side Impact Sensor")
|
| 14. |
To install, reverse removal procedure.
|
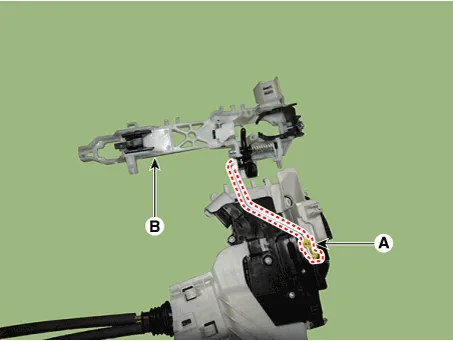
Front Door Outside Handle. Components and components location
| Component Location |
| 1. Front door
outside handle |
Front Door Outside Handle. Repair procedures
| Replacement |
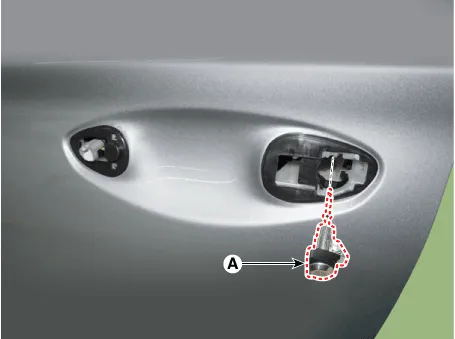
| 1. |
Remove the plug hole (B).
|
| 2. |
After loosening the mounting bolt, remove the front door outside handle
(A).
|
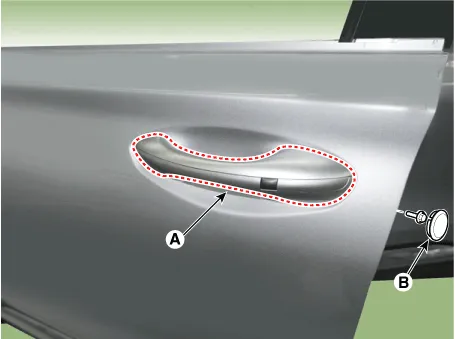
| 3. |
Press the lock pin and separate the front door outside handle connector
(A).
|
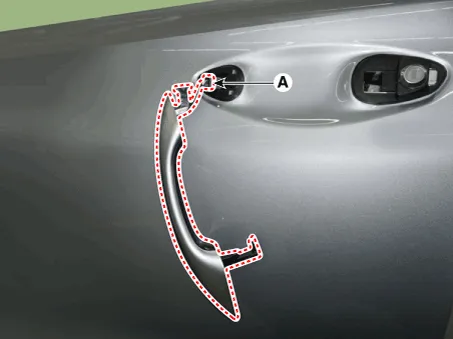
| 4. |
Remove the front door lock assembly (A).
|
| 5. |
To install, reverse removal procedure.
|
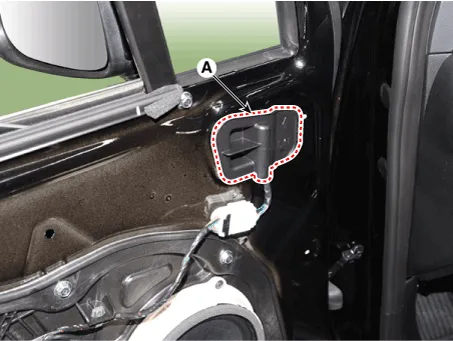
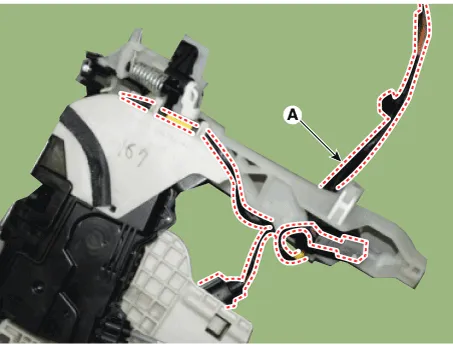
Front Door Latch. Components and components location
| Component Location |
| 1. Front Door
Latch |
Front Door Latch. Repair procedures
| Replacement |
| 1. |
Remove the front door module.
(Refer to Front Door - "Front Door Module")
|
| 2. |
Remove the front door inside handle case (A).
|

| 3. |
Press the lock pin and separate connector (A).
|
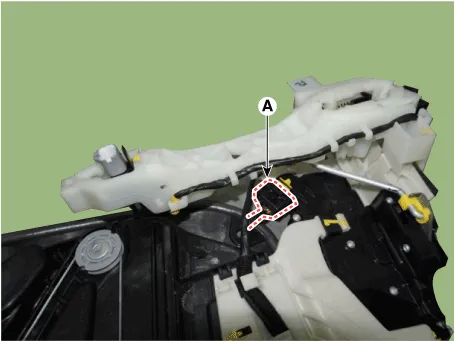
| 4. |
Remove the front door latch (A) from the module (B) by pushing it in
the direction of the arrow.
|
| 5. |
Remove the front door outside handle base connector (A).
|
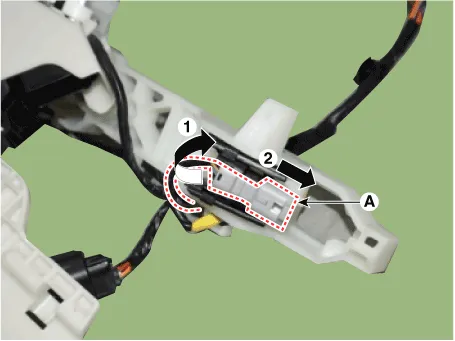
| 6. |
Separate the wiring harness (A) from the top of the front door out side
handle base.
|
| 7. |
Remove the front door outside handle base braket (A).
|
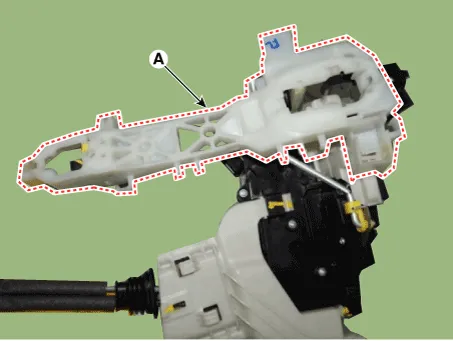
| 8. |
Loosen the front door outside handle rod (A) and remove the front door
outside handle base (B).
|
| 9. |
To install, reverse removal procedure.
|
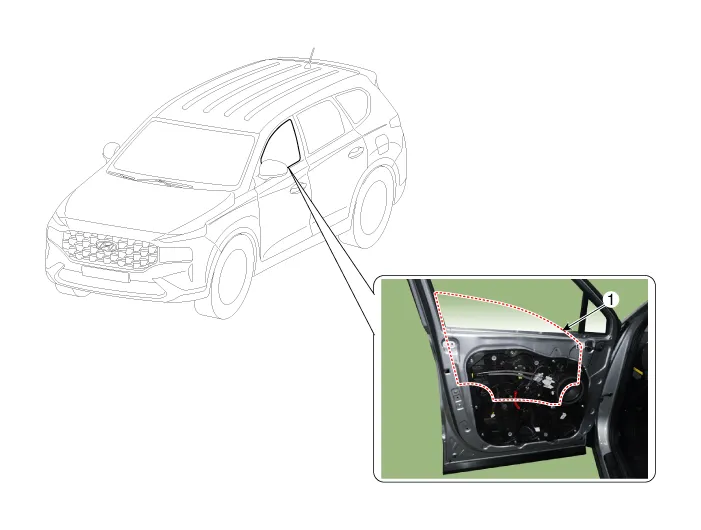
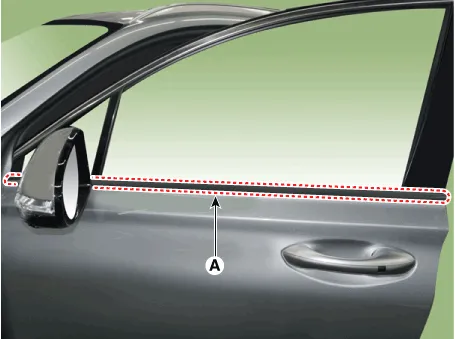
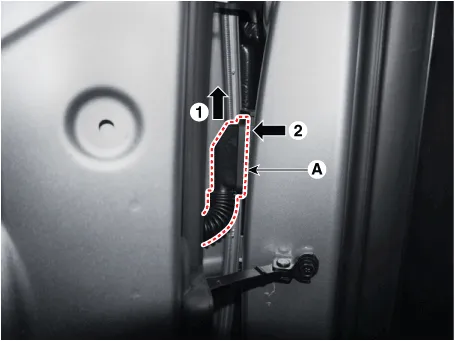
Front Door Belt Outside Weatherstrip. Repair procedures
| Replacement |
| 1. |
Pull down the front door window glass to the lowest level by pressing
the power window glass switch.
|
| 2. |
Using a screwdriver or remover, remove the front door belt outside weatherstrip
(A).
|
| 3. |
To install, reverse removal procedure.
|
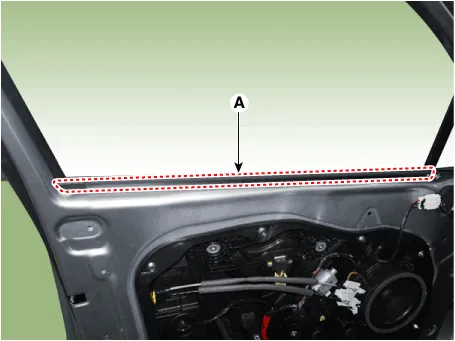
Front Door Belt Inside Weatherstrip. Repair procedures
| Replacement |
| 1. |
Remove the front door trim.
(Refer to Front Door - "Front Door Trim")
|
| 2. |
Remove the front door belt inside weatherstrip (A).
|
| 3. |
To install, reverse removal procedure.
|
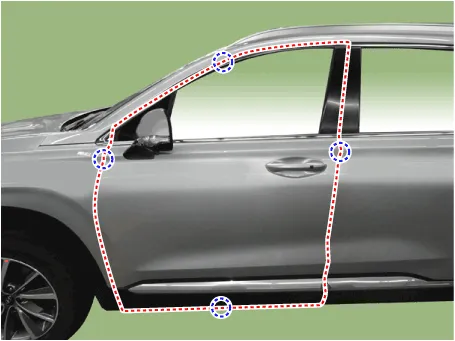
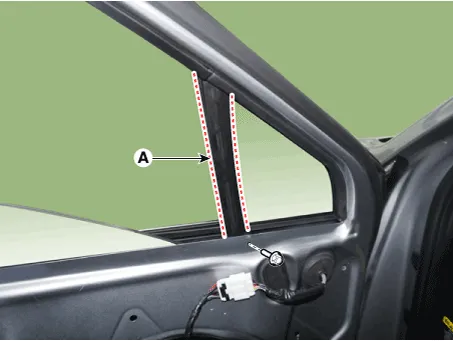
Front Door Side Weatherstrip. Repair procedures
| Replacement |
| [Front door side weatherstrip] |
| 1. |
Loosen the front door checker (B) mounting bolt.
|
| 2. |
Detach the clips, then remove the front door side weatherstrip (A).
|
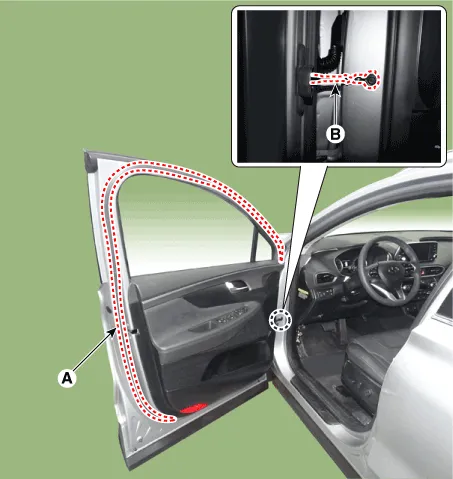
| 3. |
To install, reverse removal procedure.
|
| [Front door body side weatherstrip] |
| 1. |
Detach the clips, then remove the front door body side weatherstrip
(A).
[LH]
[RH]
|
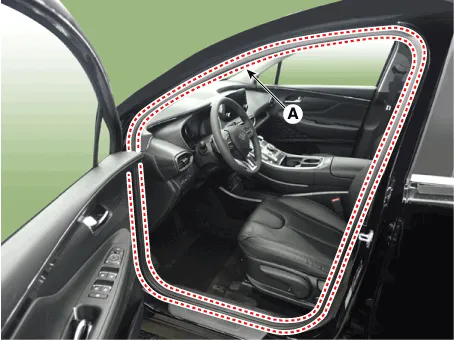
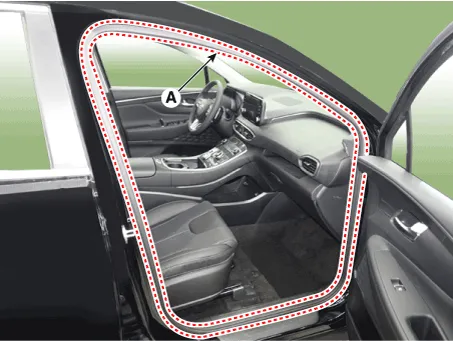
| 2. |
To install, reverse the removal procedure.
|
Front Door Frame Garnish. Repair procedures
| Replacement |
|
|
| 1. |
Remove the front door belt outside weatherstrip.
(Refer to Front Door - "Front Door Outside Weatherstrip")
|
| 2. |
Using a remover and remove the front door frame garnish (A).
|
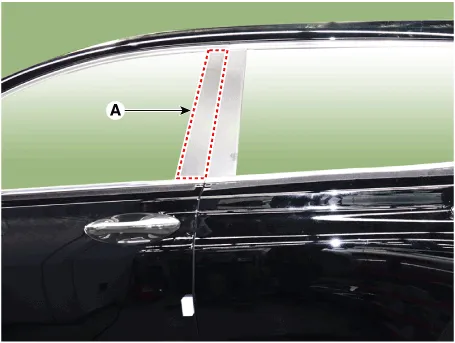
| 3. |
To install, reverse removal procedure.
|
Front Door Frame Molding. Repair procedures
| Replacement |
|
|
| 1. |
Using a remover and remove the front door frame molding (A).
|
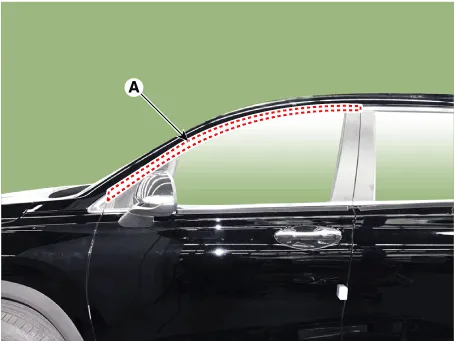
| 2. |
To install, reverse removal procedure.
|
Components and components location Component Location 1. Fuel Filler Door Repair procedures Replacement • Put on gloves to prevent hand injuries.
Components and components location Components 1. Rear door window glass 2. Rear door window glass run assembly 3.
Other information:
Hyundai Santa Fe (TM) 2019-2023 Service and Repair Manual: Immobilizer System
Description and operation Description The immobilizer system will disable the vehicle unless the proper ignition key is used, in addition to the currently available anti-theft systems such as car alarms, the immobilizer system aims to drastically reduce the rate of auto theft.
Hyundai Santa Fe (TM) 2019-2023 Service and Repair Manual: Front Radar Unit. Repair procedures
Inspection Inspection procedure for vehicle with Forward Collision-Avoidance Assist and Smart Cruise Control system failure 1. Check the bumper appearance for accident (check the vehicle appearance visually and see bumper replacement history).
Categories
- Manuals Home
- Hyundai Santa Fe Owners Manual
- Hyundai Santa Fe Service Manual
- Automatic Transaxle Control System
- Front Radar Unit. Repair procedures
- Engine Electrical System
- New on site
- Most important about car
