Hyundai Santa Fe: Transfer Assembly / Front Wheel Transfer Assembly. Repair procedures
Hyundai Santa Fe (TM) 2019-2025 Service Manual / 4 Wheel Drive (4WD) System / Transfer Assembly / Front Wheel Transfer Assembly. Repair procedures
| Removal |
[Diesel 2.2 TCI]
|

| 1. |
Remove the under cover.
(Refer to Engine Mechanical System - "Engine Room Under Cover")
|
| 2. |
Remove the front driveshaft assembly. [Right side]
(Refer to Driveshaft and Axle - "Front Driveshaft")
|
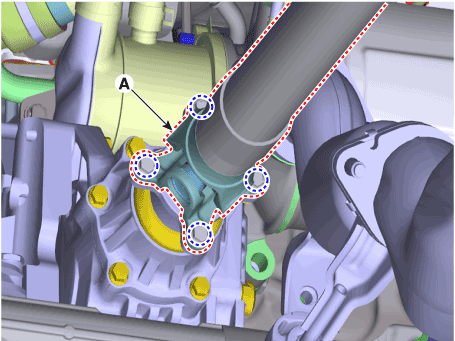
| 3. |
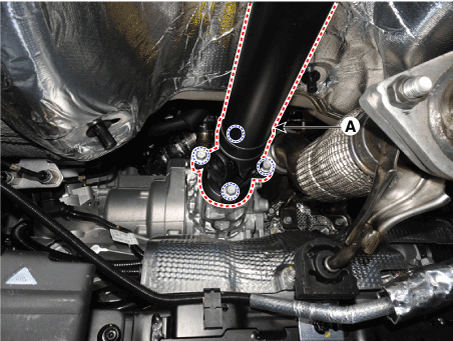
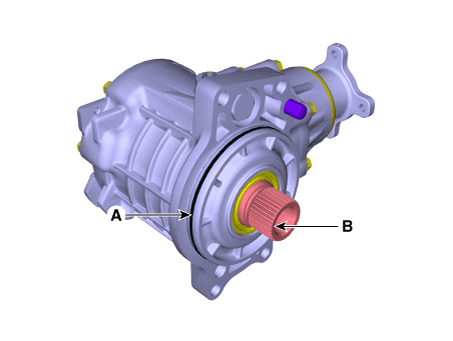
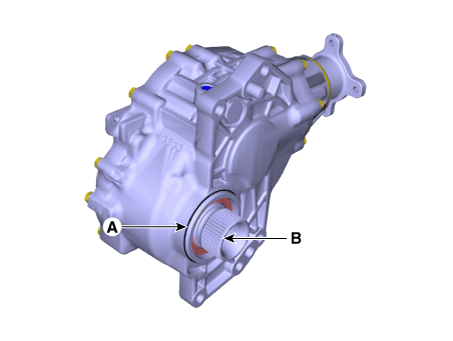
Remove the front propeller shaft assembly (A) from the transfer assembly.
|
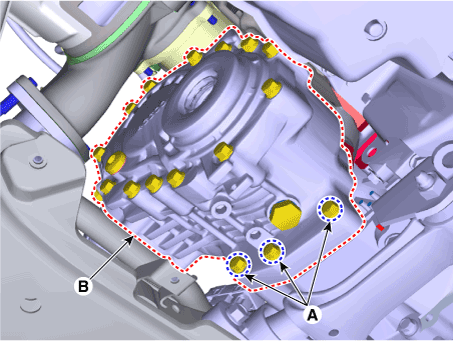
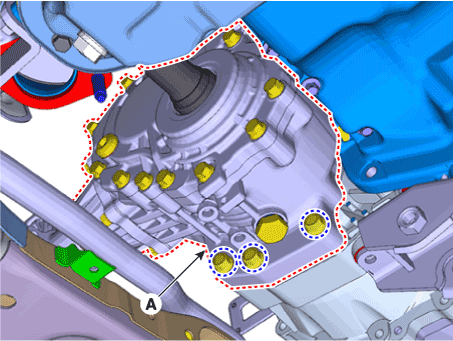
| 4. |
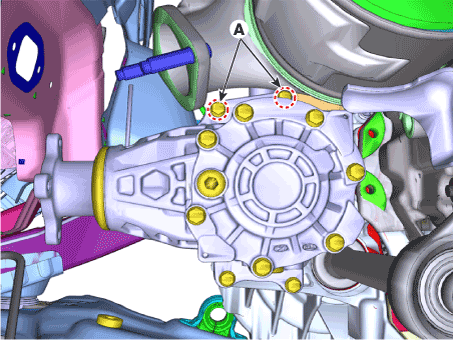
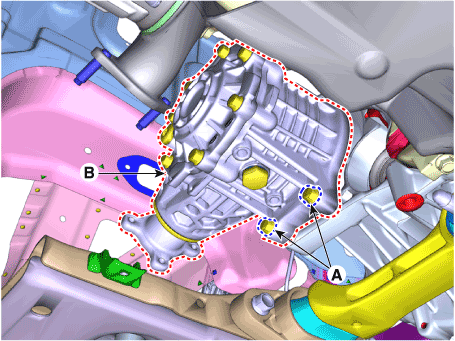
Remove the transfer case assembly.
|
[Gasoline 2.5 MPI]
|
| 1. |
Remove the under cover.
(Refer to Engine Mechanical System - "Engine Room Under Cover")
|
| 2. |
Remove the front drive shaft assembly. [Right side]
(Refer to Driveshaft and Axle - "Front Driveshaft")
|
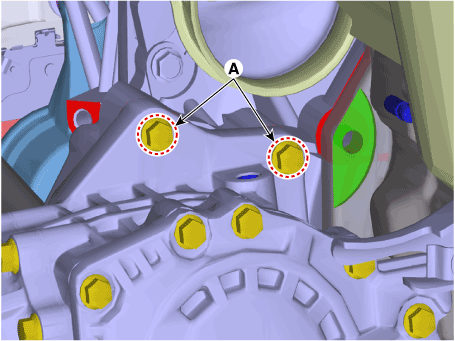
| 3. |
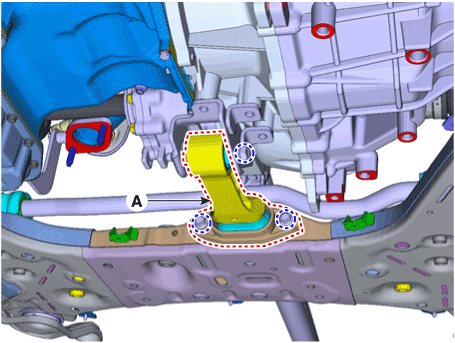
Loosen the bolts and then removing the roll rod assembly (A).
|
| 4. |
Remove the front propeller shaft assembly (A) from the transfer assembly.
|
| 5. |
Remove the transfer case assembly.
|
[Gasoline 3.5 MPI]
|
| 1. |
Remove the under cover.
(Refer to Engine Mechanical System - "Engine Room Under Cover")
|
| 2. |
Remove the front drive shaft assembly. [Right side]
(Refer to Driveshaft and Axle - "Front Driveshaft")
|
| 3. |
Loosen the bolts and then removing the roll rod assembly (A).
|
| 4. |
Remove the front muffler assembly.
(Refer to Engine Mechanical System - "Muffler")
|
| 5. |
Remove the front propeller shaft assembly (A) from the transfer assembly.
|
| 6. |
Remove the transfer case assembly.
|
| Installation |
| 1. |
To install, reverse the removal procedures.
|

 Transfer Fluid. Repair procedures
Inspection
•
Transfer oil should be inspected and refilled every 60,000 km
(40,000 mile) / 4 year...
 Oil Seal. Repair procedures
Replacement
Transaxle side oil seal [Diesel 2.2 TCI]
•
Be careful not to damage the parts located under the vehicle
(floor under cover, fuel filter, fuel tank and canister) when
raising the vehicle using the lift...
Other information:
Hyundai Santa Fe (TM) 2019-2025 Owner's Manual: Operating door locks from inside the vehicle
With the door lock button To unlock a door, push the door lock button (1) to the “Unlock” position. The red mark (2) on the door lock button will be visible. To lock a door, push the door lock button (1) to the “Lock” position. If the door is locked properly, the red mark (2) on the door lock button will not be visible...
Hyundai Santa Fe (TM) 2019-2025 Owner's Manual: System operation
Basic function System warning and control The basic function for Forward Collision- Avoidance Assist is to help warn and control the vehicle depending on the collision level: ‘Collision Warning’, ‘Emergency Braking’ and ‘Stopping vehicle and ending brake control’...
Categories
- Manuals Home
- 4th Generation Santa Fe Owners Manual
- 4th Generation Santa Fe Service Manual
- Repair procedures
- Body (Interior and Exterior)
- Engine Control System
- New on site
- Most important about car
Engine oil pressure warning light. Low fuel level warning light
Engine oil pressure warning light
.png)
This warning light illuminates:
When the engine oil pressure is low.
If the engine oil pressure is low:
1. Drive carefully to the nearest safe location and stop your vehicle.
2. Turn the engine off and check the engine oil level (For more details, refer to “Engine Oil” section in chapter 9). If the level is low, add oil as required.

Copyright © 2025 www.hsafe4.com